
Transform Your Space: Smart Home Improvement Ideas That Pay Off Big
Home improvement is the deliberate, hands-on transformation of your living space to align with your needs, style, and comfort. By tackling projects—from a fresh coat of paint to a full kitchen remodel—you directly increase both the functionality of your home and the pride you feel in it. The true payoff is reclaiming control over your environment, turning maintenance burdens into opportunities for daily satisfaction and lasting personal value.
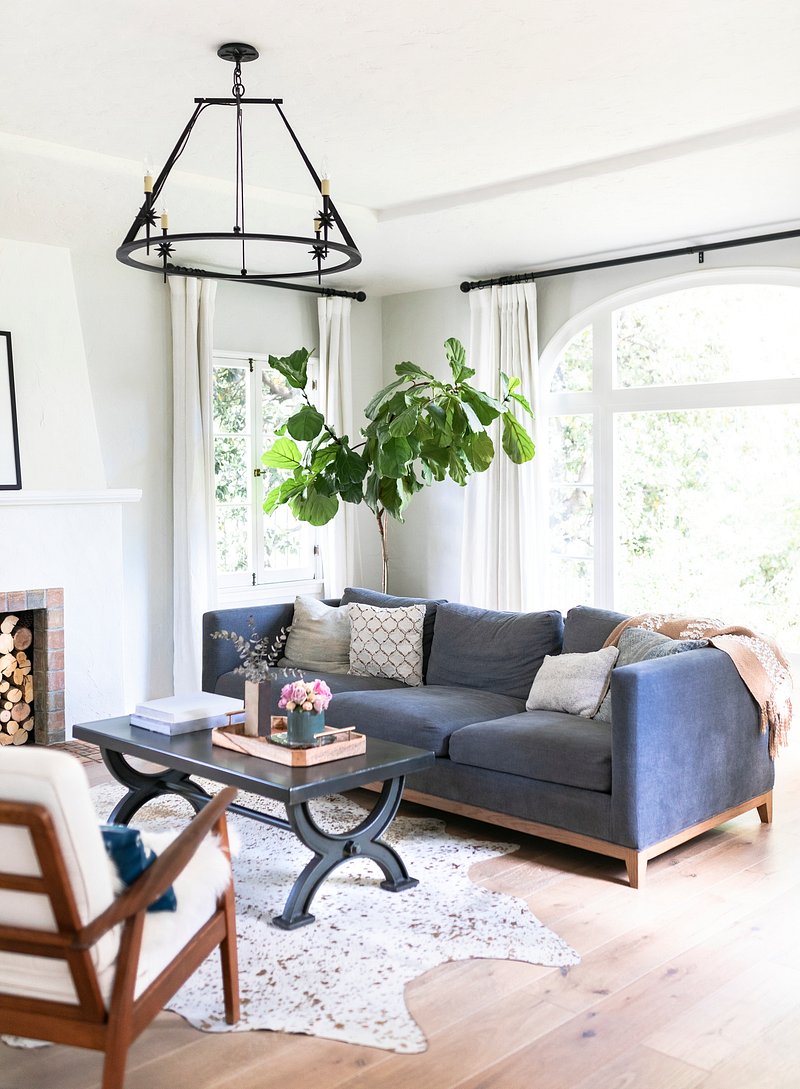
Where to Start When You Want to Upgrade Your Living Space
Begin by auditing your space, not your wishlist. Walk through each room and identify what frustrates you daily—poor lighting, wasted corners, or worn surfaces—then prioritize fixes that deliver the most visual impact for the least structural effort. Paint, hardware swaps, and refreshed caulking are immediate wins; save major layouts for after you’ve lived with small upgrades. Anchor your first project to a single focal point, like a feature wall or entryway console, and build around it. Q: What’s the fastest way to feel a shift? A: Repaint one room in a lighter, cohesive palette and replace dated switch plates—it redefines the entire mood. Commit to one zone at a time, and resist expanding scope until that area feels finished.
Assessing Which Rooms Give You the Most Daily Value
To prioritize upgrades, audit each room by frequency of use and duration of occupancy. Daily value assessment hinges on which spaces you inhabit during waking hours, not just pass through. The kitchen and primary bathroom typically yield the highest return because their fixtures and layouts affect every meal and hygiene routine. Track your movement for one week; note where you linger versus merely transit. A rarely used formal dining room offers negligible daily benefit, while a mudroom that organizes your morning exit provides compound convenience. Focus capital on high-touch zones that reduce friction—improved lighting, storage, or surfaces you touch constantly. Ignore rooms that serve only occasional guests.
- Rank rooms by hours spent awake and active, not square footage.
- Target upgrades that solve recurring pain points, like cluttered entryways or dim countertops.
- Defer aesthetic-only changes in rooms you enter less than 20 minutes daily.

Creating a Realistic Budget That Covers Hidden Costs
When upgrading your living space, your budget must go beyond pretty tile samples and new fixture price tags. Start by listing every conceivable expense, from dumpster rental fees to the cost of eating out while your kitchen is unusable. Add a non-negotiable contingency of 15–20% for surprises like outdated wiring behind walls or water-damaged subflooring. Call suppliers for exact delivery charges and confirm whether your contractor’s quote includes permits, cleanup, and temporary lighting. Track every receipt in a dedicated app, then compare actual spending weekly against your projections. This discipline reveals where you can trim without sacrificing quality.
A realistic budget for upgrading your living space must itemize hidden costs like debris removal, temporary living expenses, and a 15–20% contingency fund for unforeseen structural issues.
Choosing Between DIY Projects and Hiring Skilled Tradespeople
When weighing DIY against hiring a tradesperson for home improvement, honestly assess your skill ceiling and the cost of mistakes. Painting a room or swapping a faucet is fair DIY territory, but electrical rewiring or load-bearing wall removal demands a pro. A botched DIY fix often costs double to repair later, so be ruthless about your own experience. Before any project, ask: “If this fails, will I be out time or thousands in structural damage?” For visible work like tiling, practice on scrap first; for concealed systems, hire. Always get a fixed quote, not an estimate, and confirm the tradesperson handles permits if required. The smartest home improver knows when their sweat equity is a liability, not an asset.
Simple Tasks You Can Tackle Yourself This Weekend
Before you call a pro, look at simple tasks you can tackle yourself this weekend to save money and build confidence. Start by swapping outdated caulk around tubs and sinks—just scrape, clean, and reapply. Next, tighten loose cabinet hinges or replace a dripping faucet washer; both take under an hour. For a quick visual win, patch small nail holes with spackle, then repaint just that wall. Finally, flush your water heater and replace the air filter—easy maintenance that prevents bigger repairs. Each job needs only basic tools and a YouTube tutorial, so pick one and enjoy the satisfaction.
Signs a Job Requires a Professional’s Expertise
When a project involves altering your home’s structural bones, that’s your clearest signal. If you’re planning to knock down a wall, move a load-bearing beam, or add a second-story extension, the risk of catastrophic failure is simply too high for trial-and-error. Similarly, if your electrical panel is outdated or your plumbing requires rerouting behind finished walls, signs a job requires a professional’s expertise become undeniable when you face hidden systems with no visible end point. Any task that introduces gas lines, heavy roof loads, or custom glass installations also demands precision tools and trained judgment. If your initial internet research leaves you guessing about load calculations or water pressure dynamics, stop and call a pro.
- You detect a gas odor or see scorch marks near outlets—immediate red flags.
- Your renovation plan requires a permit because it changes the home’s footprint or layout.
- The job involves cutting into load-bearing walls or altering divine home foundation supports.
- You can’t confidently describe the sequence of shutdown steps for water or power before you begin.
Selecting Durable Materials That Match Your Lifestyle
The way you actually live should dictate every surface you choose, not just the trendiest catalog photo. If your weekends are muddy-boot trail hikes and your kitchen doubles as a paint station for the kids’ school projects, then matte porcelain tile and sealed quartz beat out polished marble every time. I learned this after replacing a pristine oak dining table with a solid-core laminate that shrugs off red wine like a raincoat. The real question is: does this material forgive your specific chaos? Before you buy, ask yourself: “Will I actually wipe this down daily, or do I need something that survives my neglect?” A low-maintenance composite deck might outlast cedar, but if you love the ritual of oiling wood, choose the cedar and enjoy the upkeep—durability isn’t just toughness, it’s matching your patience.
Comparing Flooring Options for High-Traffic Households
For high-traffic households, flooring comparison hinges on scratch resistance, moisture tolerance, and ease of upkeep. Comparing flooring options for high-traffic households puts luxury vinyl tile (LVT) ahead for its waterproof core and cushioned backing, while porcelain tile excels in durability but feels cold underfoot. Engineered hardwood offers warmth yet requires immediate spill cleanup. To decide, first assess your primary threat: pets, kids, or muddy boots. Then, test samples with a coin scratch and water bead. Finally, factor in installation cost versus replacement timeline. *A single elegant mat at entryways often extends any floor’s life more than premium material alone.*
Picking Paint Finishes That Hide Scuffs and Clean Easily
For high-traffic zones, choosing a satin or semi-gloss finish balances light reflection with surface resilience. Flat paint reveals every fingerprint and resists scrubbing, so reserve it for low-touch ceilings. Eggshell offers a middle ground but still shows pressure marks. Semi-gloss excels in kitchens and kids’ rooms because its tighter film repels grime and allows repeated wiping without dulling. Matte variants with added urethane provide a modern look while maintaining washability, though they cost more. Test each finish on a wall patch with a damp sponge to confirm how easily stains lift.
- Opt for semi-gloss in hallways and trim to deflect scuffs.
- Use scrubbable satin in living areas to balance sheen and durability.
- Avoid flat finishes in spaces where children or pets frequent.
- Verify the paint’s stain-resistance rating before committing.
Boosting Energy Efficiency While You Renovate
Renovations offer a prime opportunity to boost energy efficiency, starting with the building envelope. Seal all air leaks around windows, doors, and baseboards with caulk or weatherstripping before adding insulation, as uncontrolled airflow undermines even the best materials. Upgrade to double-pane, low-E coated windows to reduce heat transfer, and consider adding rigid foam insulation beneath new siding or roofing for a continuous thermal barrier. When replacing appliances or HVAC units, prioritize ENERGY STAR models to lock in long-term savings. However, the most impactful efficiency gains often come from addressing the attic, where heat loss is greatest, before focusing on cosmetic finishes. Finally, install programmable thermostats and switch to LED lighting during the rewire phase, ensuring every system you touch operates at peak performance. This integrated approach makes the renovated space more comfortable and cost-effective year-round.
Upgrading Windows and Insulation for Lower Utility Bills

Upgrading windows and insulation delivers immediate relief on utility bills by sealing the thermal envelope you already pay to condition. Start by auditing drafts: run a hand along frames and outlets—air leaks often hide there. Then, prioritize insulation in the attic, where heat escapes fastest, before tackling walls. For windows, upgrading to double-pane low-E glass cuts solar gain in summer and retains warmth in winter, but pairing them with weatherstripping and caulking multiplies the savings. *Investing in spray foam around rough openings prevents moisture damage that undermines even the best window’s performance.* Follow this order: seal air gaps, add insulation depth, then replace windows—otherwise, you’ll condition air that still leaks out.
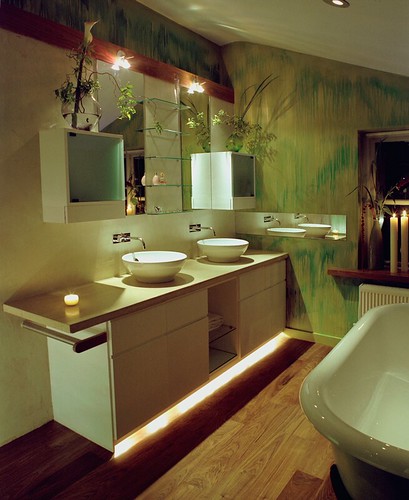
- Locate and seal all air leaks with caulk or expanding foam.
- Add insulation to the attic and rim joists before wall cavities.
- Install energy-efficient windows last, after the building is airtight.
Smart Thermostats and Lighting That Pay for Themselves

Smart thermostats and LED lighting form the most direct path to recouping renovation costs through reduced utility bills. A programmable thermostat learns your occupancy patterns, automatically cutting heating or cooling during empty hours, which typically trims HVAC energy use by ten percent or more. Pair this with motion-sensing LED bulbs and smart plugs that eliminate standby power draw; these fixtures consume up to seventy-five percent less electricity than incandescents. The payback period hinges entirely on how aggressively you set temperature setbacks and automate unoccupied rooms. Over a few seasons, monthly savings exceed the initial hardware investment, making these upgrades self-funding within a single renovation cycle. Smart thermostats and lighting that pay for themselves require consistent scheduling, not just installation, to maximize returns.

Smart thermostats and lighting pay for themselves through automated scheduling, occupancy detection, and lower energy consumption, turning upfront costs into recurring savings.
Maximizing Storage Without Sacrificing Style
Maximizing storage without sacrificing style means choosing pieces that do double duty, like a bench with hidden cubbies in the entryway or a coffee table with lift-top compartments. In the living room, swap bulky shelving for slim, wall-mounted ledges that display decor while holding baskets for clutter. For kitchens, open racks with pretty hooks keep pots and mugs visible but organized, turning everyday items into part of the design. In bedrooms, a storage bed with drawers under the mattress replaces a bulky dresser, freeing floor space. Use matching woven bins or fabric boxes on open shelves to keep things tidy, and opt for furniture in finishes that match your trim—like white oak or matte black—so storage feels intentional, not added on.
The trick is to hide the mess in plain sight, using containers and furniture that look as good as the items they hold.
Even narrow hallways can host a shallow, floor-to-ceiling cabinet with a mirrored front, giving you depth without eating visual space.
Built-In Shelving Ideas for Awkward Corners and Nooks
Awkward corners and sloped nooks often become dead zones, but custom built-in shelving transforms them into high-capacity storage without disrupting a room’s visual flow. For a triangular alcove, install wedge-shaped shelves that follow the wall’s angle, effectively using every inch of depth while maintaining a clean, flush appearance. Under a staircase, taper shelf depths to match the ascending risers, creating a staggered, bookcase-like effect that turns wasted void space into a functional library. In shallow recesses near chimneys or doorways, use slim, floor-to-ceiling columns with adjustable brackets—this maximizes vertical storage while leaving the floor footprint clear. For a dormer window’s angled ceiling, install low-profile shelving with a front lip to prevent items from sliding, then paint the units the same shade as the wall to visually merge the nook with the surrounding architecture.
Q: What is the best way to fit built-in shelving into a very narrow, L-shaped corner? A: Opt for a custom carousel or pull-out shelf unit that rotates or slides out, allowing you to access deep corner space without awkward reaching—this keeps the shelving both compact and highly usable. Cantilevered brackets also help, as they eliminate bulky side panels, letting the shelves appear to float into the corner and reduce visual bulk.
Multi-Purpose Furniture That Declutters Small Rooms
For small rooms, multi-purpose furniture that declutters small rooms transforms wasted corners into functional zones without visual clutter. A storage ottoman hides blankets while serving as seating, and a wall-mounted drop-leaf table folds flat when guests leave, freeing floor space instantly. Choose a bed frame with built-in drawers or a lift-top coffee table that conceals remotes and magazines. Nesting side tables stack compactly when idle, while a bench with a hinged seat stores shoes by the entry. Prioritize pieces that combine two distinct uses—like a desk that converts to a dining surface—so every square foot works harder, eliminating the need for separate bulky items.
Planning the Order of Work to Avoid Costly Mistakes
In home improvement, the sequence of tasks determines whether you redo work or move forward cleanly. Planning the order of work to avoid costly mistakes starts with demolition and rough-in systems—like electrical, plumbing, and HVAC—before any wall closure or finishing. Paint and flooring must come last, because dust and heavy foot traffic will ruin fresh surfaces. Similarly, install cabinets before countertops, but after subfloor leveling, since unlevel bases crack seams.
Always complete messy, structural tasks before visible cosmetic ones, or you will pay twice for materials and labor.
Schedule inspections and curing times for adhesives or concrete before the next step, and never tile before plumbing rough-in passes. Finally, protect finished floors with drop cloths when moving appliances or trim. Order is not preference—it is the difference between a seamless build and a tear-out.
Why Demolition Should Always Come After Utility Checks
Demolition should always follow utility checks because tearing into walls, floors, or foundations without first mapping hidden lines risks severing live electrical cables, gas pipes, or water mains—a single errant swing can flood a room or spark a fire. When you verify utilities before demolition, you can isolate supply lines, mark safe zones, and plan cuts around them, avoiding emergency repairs that dwarf the cost of the original work. A utility check also reveals shared or abandoned lines that might still carry current, so you can cap or reroute them prior to breaking concrete. This sequencing turns reactive chaos into controlled progress, ensuring structural removal only begins once every service is confirmed inert or relocated, preventing blowouts, electrocution, and water damage that would otherwise halt the project.
Sequencing Paint, Flooring, and Trim for a Flawless Finish
To achieve a flawless finish, always install flooring before painting walls and trim. This sequence protects new floors from paint drips and allows you to cut baseboards in without worrying about damaging planks. Paint ceilings and walls first, then install trim, and finally paint the trim last—this way, you can caulk and fill nail holes without smearing fresh wall paint. The critical exception: if you are staining wood flooring, do that after trim is installed to keep stain off the baseboards. Proper sequencing eliminates costly rework and ensures crisp, professional lines.
